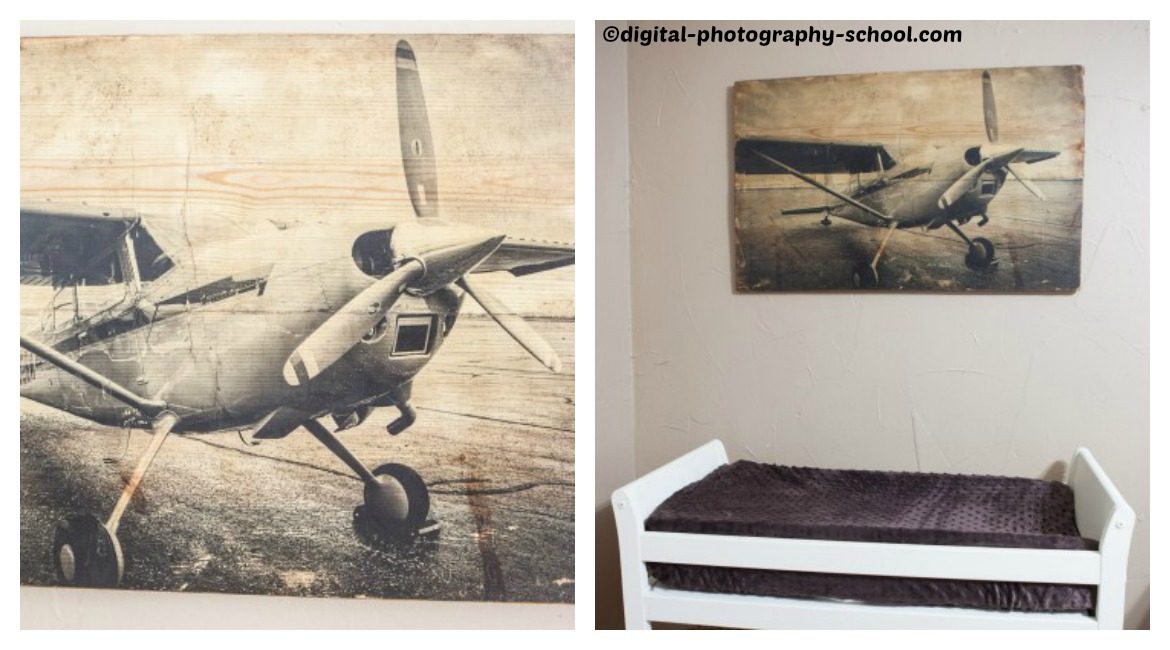
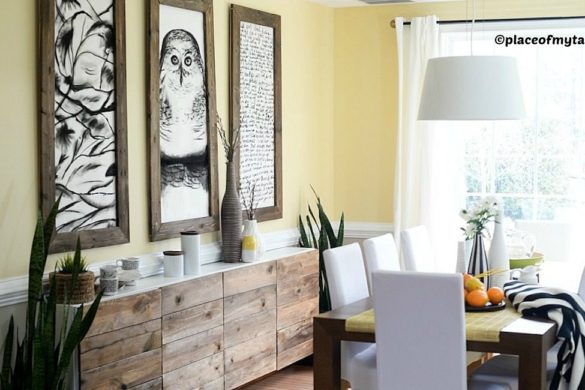
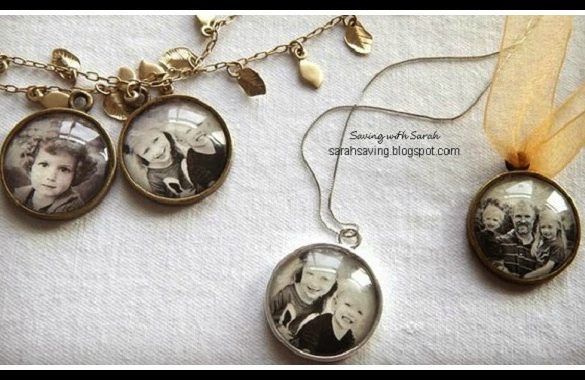
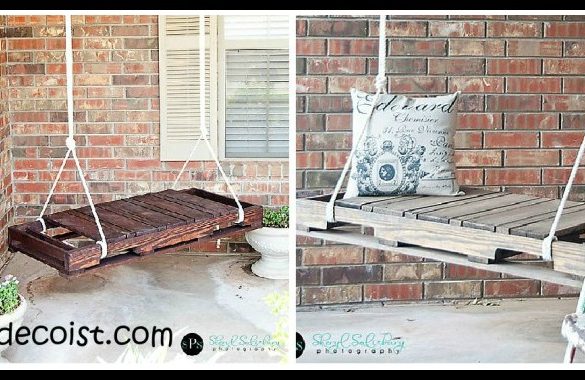
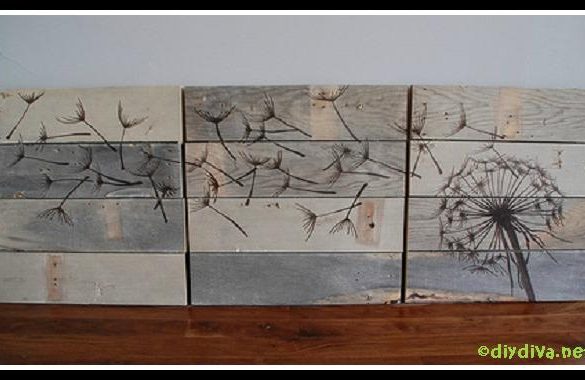
Did you ever think to print photos on wood? It’s an awesome way to create magnificent wall decorations – even a family corner – and this DIY Wood Prints Tutorial will show you how to do it.
You’ll love the end result, we’re sure. Get the needed materials and start working!
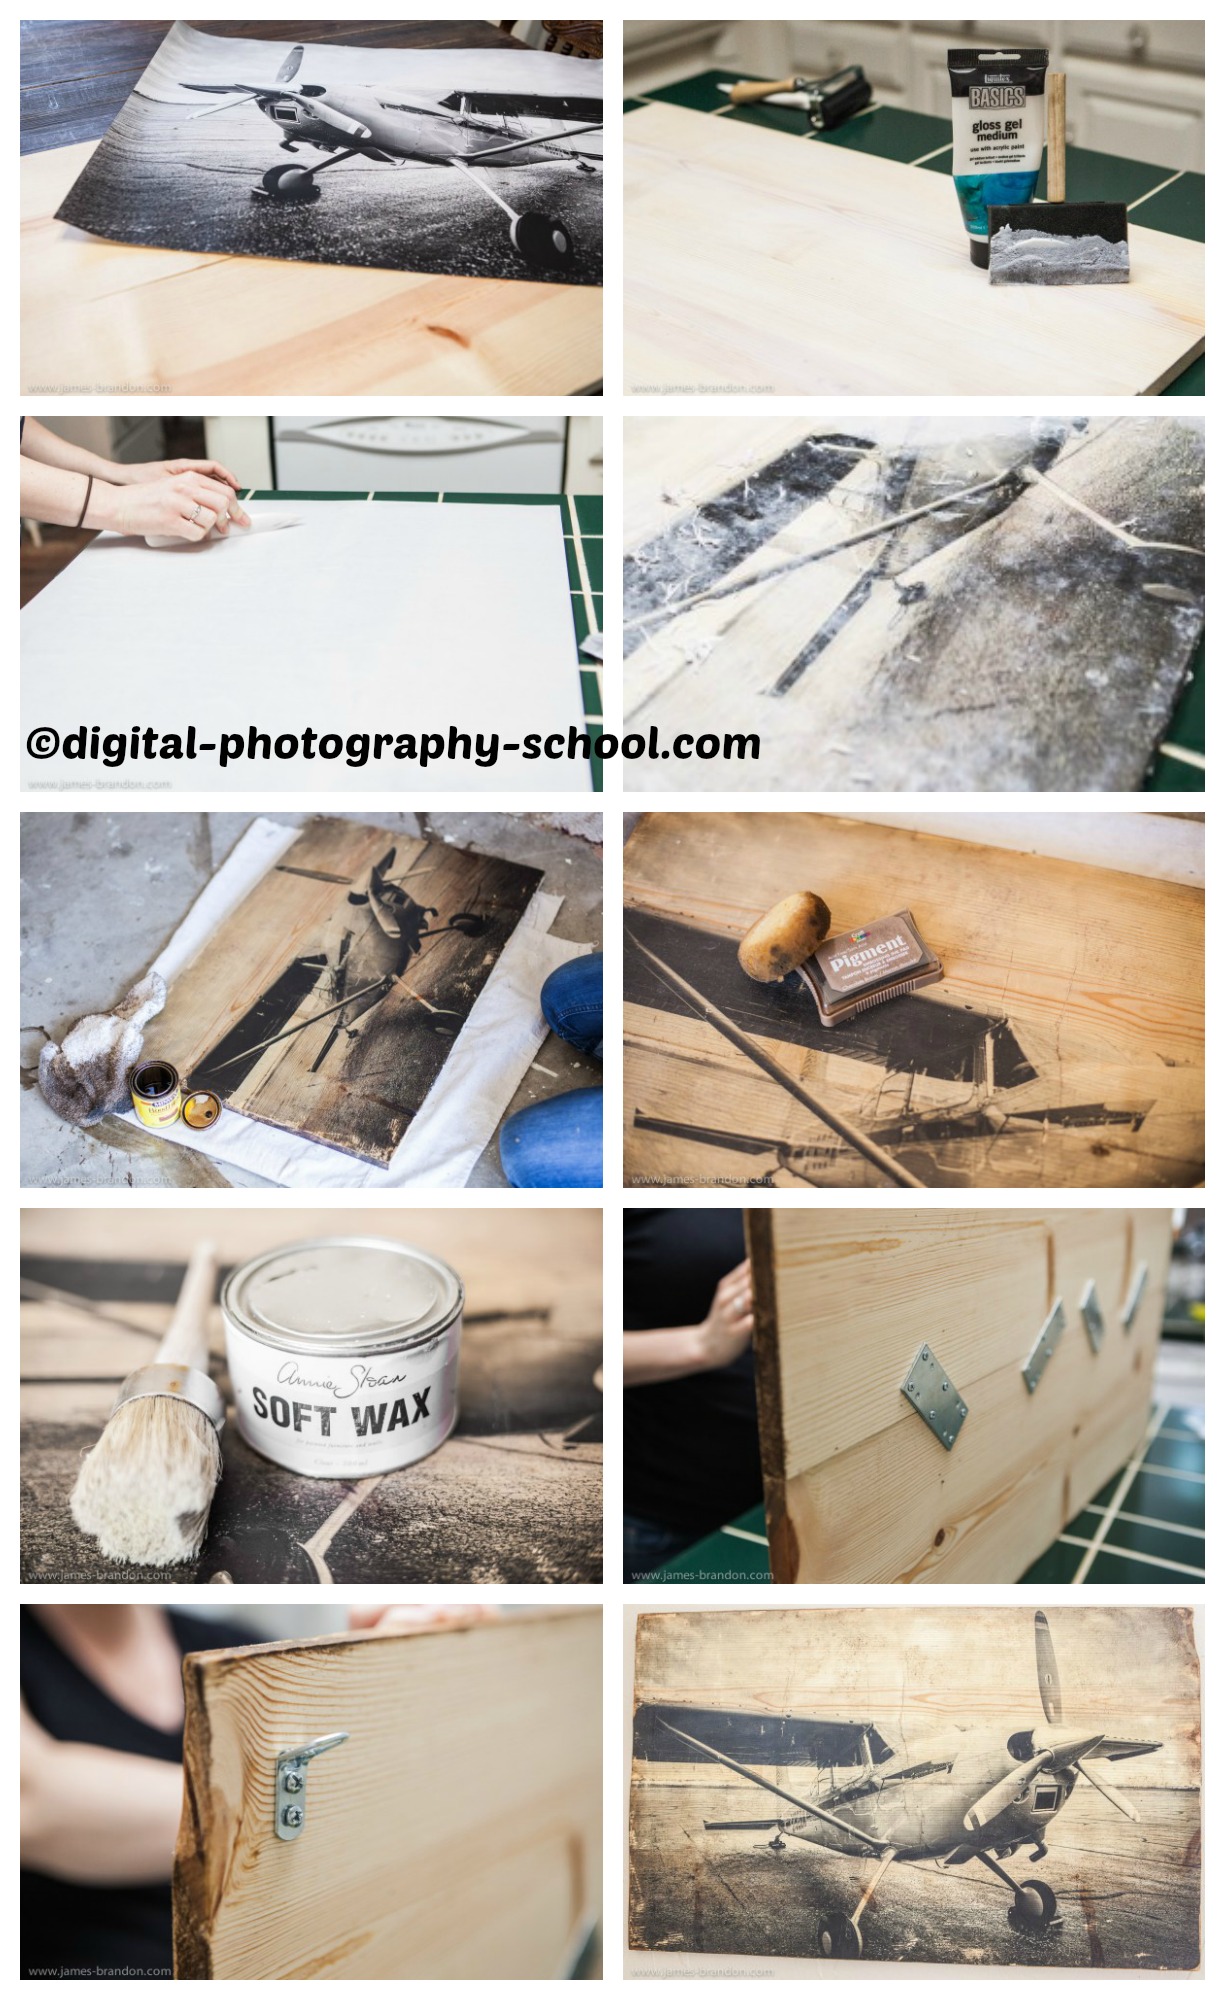
What you need:
– Laser printed photo
– Wood cut to the same size as photo
– Gel Medium (must be an acrylic gel medium)
– Brush to apply gel medium to wood
– Butter knife or flat instrument to smooth out print onto wood
– Wood stain (optional) and rags- Pigment (optional)
– Sander or sand paper
– Soft Wax or Mod Podge to smooth and seal print
– Brush to apply wax
– Hanging brackets
– Fastening brackets (if multiple pieces of wood are used)
How to do the job:
(all images by digital-photography-school.com)
For the full tutorial go to How to: digital-photography-school.com
Are you ready? How hard was it? We’d love to hear about your craft results – just leave a comment with your opinion below.
